How to use your Mac to turn a PDF into a online digital flip book publication
22 May 2014
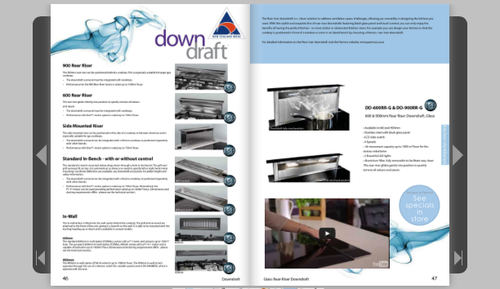
Today I want to focus on the A to Z on how to install and publish your digital documents online with realistic page turning animations using a Mac computer. For this demo I have selected a product catalogue to demonstrate a few of the customisation possibilities FlexPaper offers.
I have used FlexPaper Desktop publisher to do all the customisations in this publication. Click on the screenshot below if you want to jump straight to the live demo.
1. Getting started:
Once you have opened the desktop publisher, use the open PDF button to browse through your files. Select the PDF you want to publish and click the open button.
 </figure>
If you already have a PDF that you previously worked on that you want to edit, open the original then press the “import settings from previous publication” and browse through to the folder where you have previously published your document. Select the folder and click open and the desktop publisher will import any previous settings.
2. Technical features:
Decide what technical features the PDF need. The left hand section in the publisher is where the unseen user experience gets decided and other behind the scenes goodies like Google analytics tracking.
Because the features I have added to this demo are on page 8-9, I have selected this to be my start page.
I have also chosen to select HTML5 as primary format with a fall back to flash if the device my PDF is displayed on doesn’t support HTML5.
To learn more about browser coverage for HTML5 and flash, click here: http://flowpaper.com/html-flash-or-html5.jsp</p>
</a>
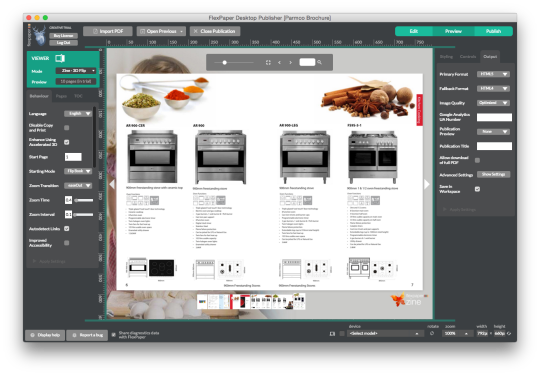
3. End user and visual features:

On the right hand side in the publisher you enhance the visual and end user elements. I added a product video to emphasise features for one of the products. I have also added a special prize image on top of one of the products with a link that takes the reader to the website product page. I added another link to the same page on the website on top of the product heading.
To emphasise my brand even more I have created a background image that ties in with both the brand and the product catalogue.
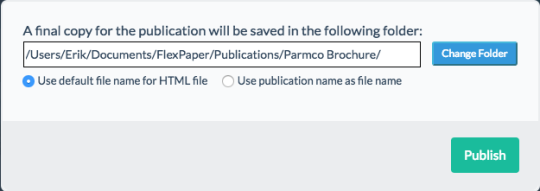
4. Preview and Save:
 </figure>
Now that I am happy with my document I click the Publish and View button. Once you click the publish button, the document is converted and a folder is created in the FlexPaper folder in your documents folder on the Mac. The folder created will have the same name as your original PDF.
Upload to the web:
So, now it is time upload your document onto your website or blog. You will need to upload all the content in the folder that FlexPaper has created to your server. There are various ways to upload content to a web site. You can find a range of options on how to upload your publication in the publishing dialog.**
**
To finish this tutorial off I would like to have a quick recap. In here I have demonstrated how to customise technical and visual elements to the product catalogue PDF. I have added an image background that ties in with both brand and product catalogue. I finished the tutorial off with an explanation the final steps to publish your online publication.
The last tip I want to add in this post is that if you have access to the original PDF, you can add pages and publish an updated version of your product catalogue, add videos or prices specials, as you need them. No need to wait for the next print run to display your products.
Here is a link to more example documents to give you more inspiration on what you can do with your digital publication:
http://flowpaper.com/demo/
Good luck,
Camilla
FlexPaper Team